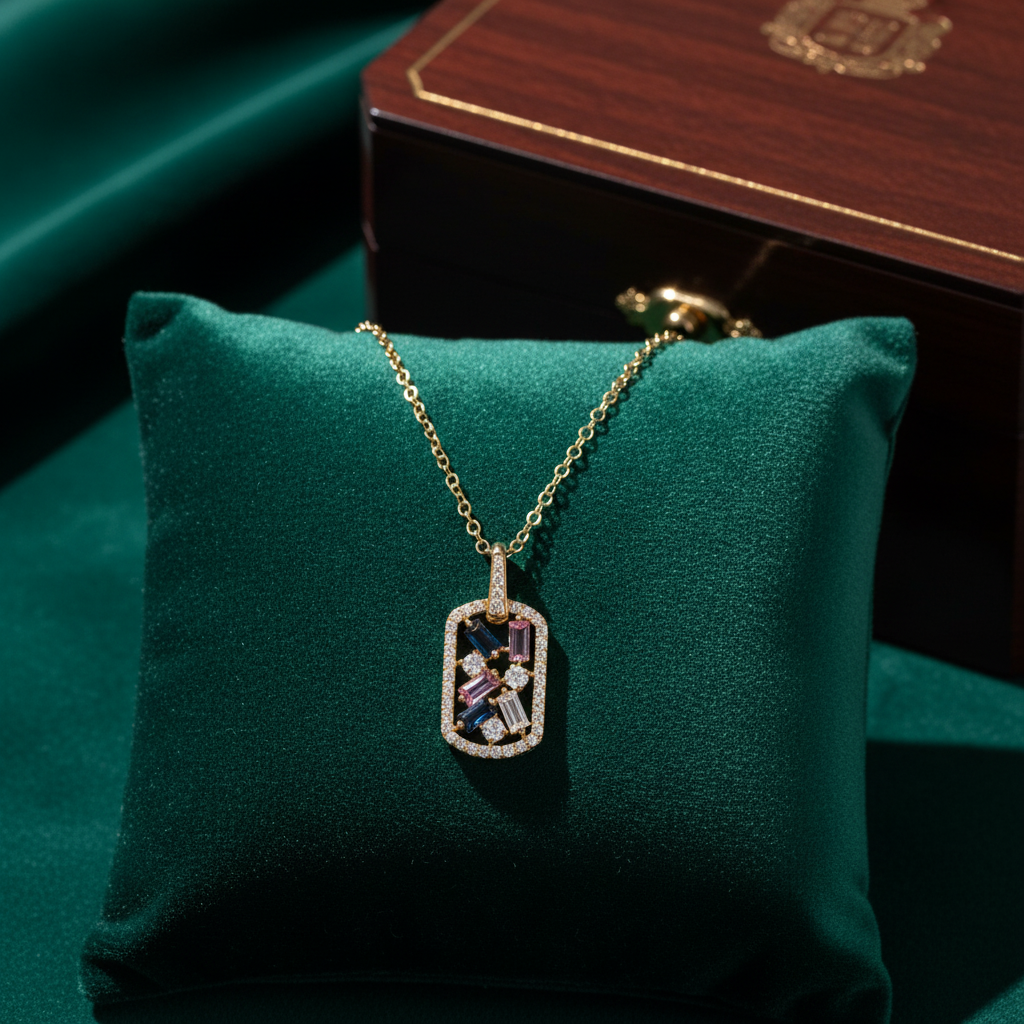
Learning how to make earrings with beads is one of the most rewarding and creative skills you can develop. This broad craft allows you to design stunning, personal accessories that fully complement your style by providing hours of comfort, creative bliss. Whether you are interested in preparing elegant pieces for special occasions or everyday wear, beaded earrings provide endless possibilities for artistic expression.
The art of making beaded jewelry has captivated crafters for hundreds of years, and brand new current strategies make it more handy than ever before. From simple newbie tasks to complicated designs that rival expert rings, learning how to make earrings with beads opens up a international of innovative capacity. You'll discover the pleasure of sporting precise pieces that reflect your aesthetic at the same time as developing skills which can end up a satisfying interest or even a small business mission.
Transform normal beads into stunning jewelry pieces with this comprehensive guide. Creating beaded rings permits you to craft personalized add-ons that mirror your unique fashion at the same time as growing a precious skill that brings rest and creative pride. The technique combines inventive, imaginative and prescient with practical strategies, resulting in lovely wearable art that makes extraordinary items for pals and own family.
Also Read: Waist Beads Meaning: African Origins & Spiritual Use
Benefits of Crafting Your Beaded Earrings
Handmade beaded jewelry offers unlimited customization options. Unlike store-bought pieces, your creations can perfectly match your wardrobe and personal aesthetic. This craft provides therapeutic benefits while producing beautiful, wearable art that makes excellent gifts for friends and family.
Getting Started: Required Supplies
Success in beadwork begins with proper materials. Here's what you'll need:
Beading Materials:
-
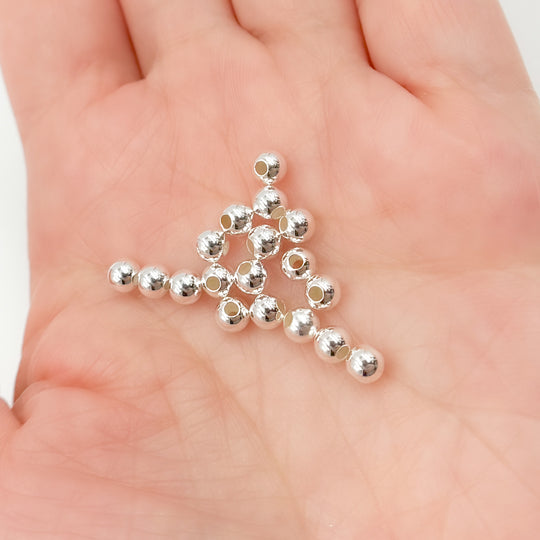
Assorted beads (crystal, glass, wooden, metallic, or acrylic)
-
Earring findings (hooks, posts, or leverbacks)
-
Jump rings in various sizes
-
Head pins and eye pins
-
Fine jewelry wire (20-24 gauge recommended)
-
Earring backs for post-style designs
Essential Equipment:
-
Round-nose pliers for loop creation
-
Flat-nose pliers for gripping
-
Wire cutters for trimming
-
Crimping pliers for secure connections
-
Soft beading mat to prevent rolling
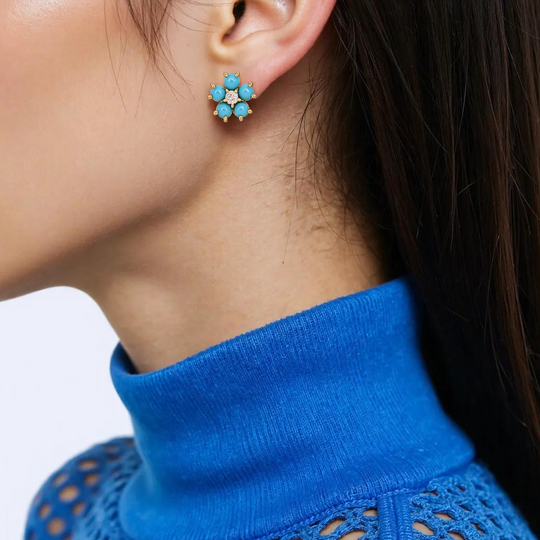
How to Make Stud Earrings with Beads
Stud earrings are perfect for beginners and offer elegant simplicity. Here's your step-by-step guide:
Step 1: Prepare Your Materials Select small to medium-sized beads that won't be too heavy for comfortable wear. Choose earring posts with flat pads suitable for gluing.
Step 2: Create the Design Thread your chosen bead onto a headpin. If using multiple small beads, arrange them in your desired pattern before securing.
Step 3: Form the Loop Using round-nose pliers, create a small loop above your bead arrangement. Trim excess wire, leaving about 1/4 inch to work with.
Step 4: Attach to Post Open the loop slightly and attach it to the earring post. Close the loop securely to prevent the bead from sliding off.
Step 5: Secure the Back Attach the earring back to complete your stud earrings.
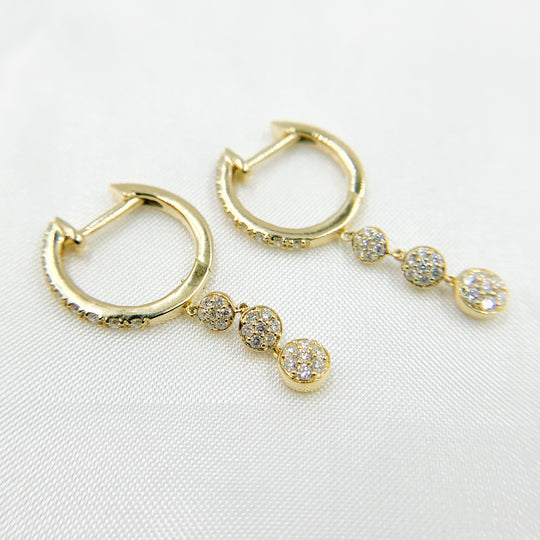
How to Make Hoop Earrings with Beads


Hoop earrings with beads create stunning statement pieces that are surprisingly easy to make.
Step 1: Choose Your Hoops Select hoop earrings with openings that allow beads to slide on easily. Memory wire hoops work exceptionally well for this technique.
Step 2: Plan Your Pattern Lay out your beads in the desired pattern before threading. Consider color coordination and size variation for visual interest.
Step 3: Thread the Beads Carefully slide beads onto the hoop, maintaining your planned pattern. Leave small spaces between beads for natural movement.
Step 4: Secure the Ends If using memory wire, create small loops at each end to prevent beads from sliding off. For traditional hoops, ensure the closure mechanism still functions properly.
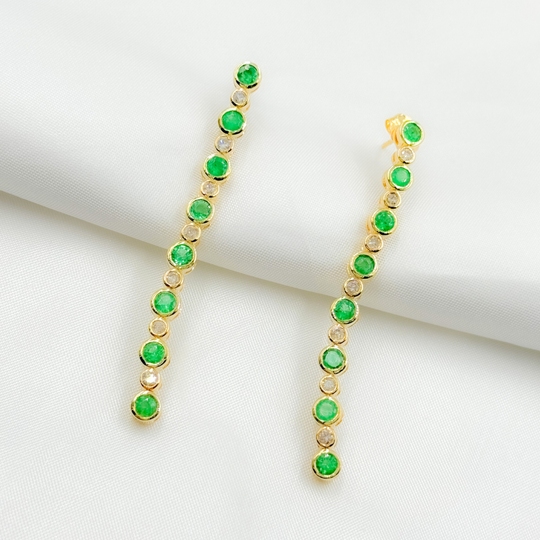
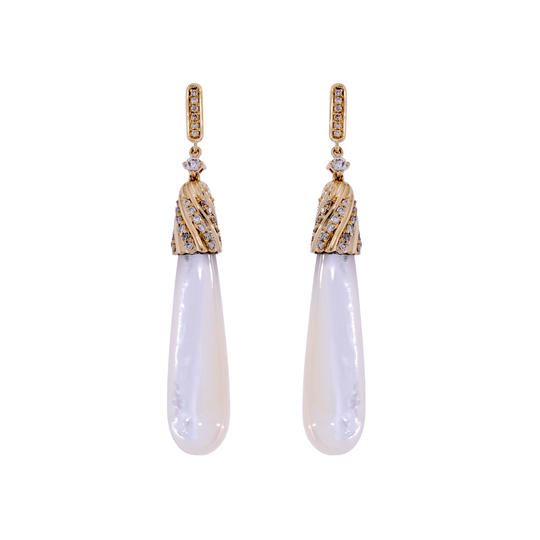
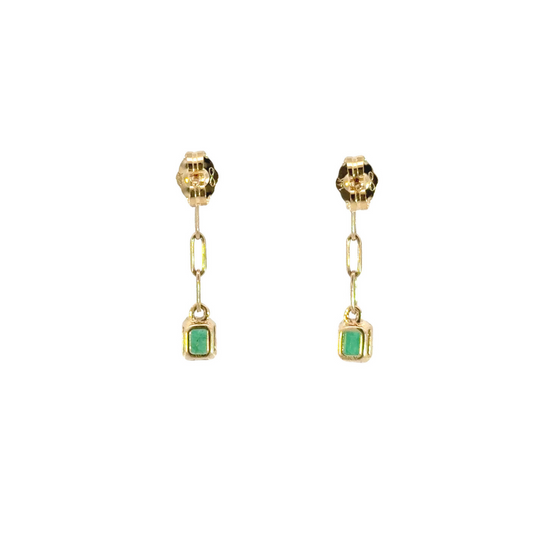
How to Make Drop Earrings with Beads
Drop earrings add elegance and movement to any outfit. This style offers more room for creativity and bead combinations.
Step 1: Design Your Drop Plan a graduated design with larger beads at the bottom and smaller ones toward the top. This creates a natural, flowing appearance.
Step 2: Prepare the Wire Cut a piece of jewelry wire about 3 inches long. Create a small loop at one end using round-nose pliers.
Step 3: Add Your Beads Thread beads onto the wire according to your planned design. Experiment with different textures and colors for unique effects.
Step 4: Create the Top Loop Form another loop at the top of your bead arrangement, ensuring it's large enough to accommodate the earring hook.
Step 5: Attach the Hook Connect your beaded drop to the earring hook, ensuring the connection is secure.
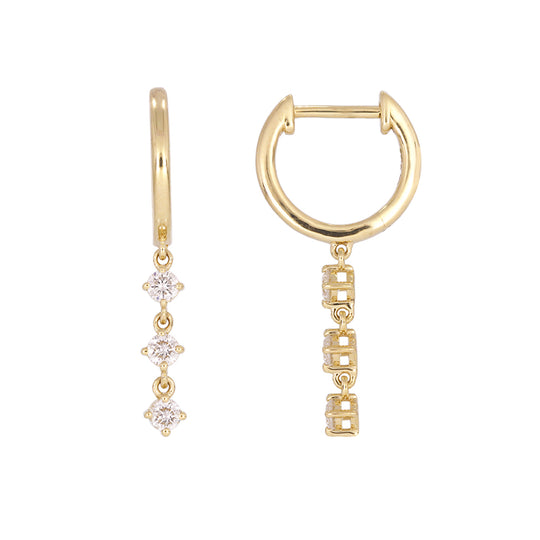
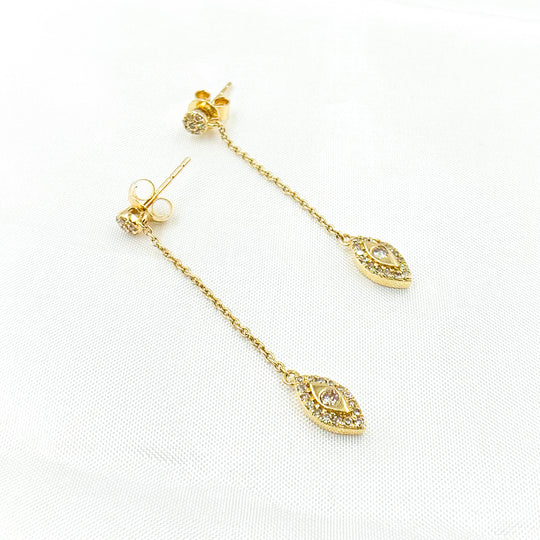
How to Make Dangle Earrings with Beads
Dangle earrings offer the most movement and can incorporate multiple elements for complex designs.
Step 1: Plan Multiple Elements Design several small beaded components that will hang at different lengths for a cascading effect.
Step 2: Create Individual Dangles Make each component separately using head pins and your chosen beads. Vary the lengths for visual interest.
Step 3: Prepare the Main Structure Use a larger jump ring or create a wire frame to hold multiple dangles.
Step 4: Attach Components Connect each beaded dangle to the main structure, spacing them evenly for balanced movement.
Step 5: Add the Earring Hook Attach the completed dangle structure to your earring hook.
How to Make Dangling Earrings with Beads
Dangling earrings combine elements of both drop and dangle styles, creating sophisticated pieces with controlled movement.
Step 1: Create the Base Start with a decorative top element, such as a larger bead or cluster of small beads.
Step 2: Add Hanging Elements Attach one or more beaded strands below the base element. These can be uniform or varied in length.
Step 3: Test for Balance Ensure your design hangs properly and feels comfortable when worn.
Step 4: Make Final Adjustments Trim wires and adjust connections as needed for the perfect finish.
Advanced Techniques and Design Ideas
Texture Mixing: Combine smooth glass beads with rough natural stones for compelling contrast. This technique adds visual depth and tactile interest to your designs.
Graduated Sizing: Arrange beads from smallest to largest for elegant proportions. This classic approach works particularly well with pearls and crystals.
Color Theory Application: Use complementary colors (opposite on the color wheel) for vibrant designs, or analogous colors (adjacent on the wheel) for harmonious, soothing pieces.
Wire Wrapping: Master decorative wire wrapping techniques to create unique bead caps and connectors that elevate simple designs into sophisticated jewelry.
Maintenance and Storage Solutions
Proper care extends the life of your handcrafted pieces. Store each pair in individual soft pouches to prevent scratching. Clean gently using a lint-free cloth, avoiding harsh chemicals that might damage delicate finishes or natural materials.
For pieces with metal components, consider anti-tarnish storage solutions. Keep beaded earrings away from extreme temperatures and humidity, which can affect certain materials like wood or natural stones.
Conclusion
Mastering the art of beaded earring advent opens limitless opportunities for non-public expression and gift-giving. Whether you choose minimalist studs or complex declaration pieces, this flexible craft adapts to each fashion preference and ability level.
Start with simple initiatives to build self-assurance, then gradually discover more complicated strategies as your competencies broaden. Each piece you create turns into a unique reflection of your artistic vision, presenting pleasure that industrially produced earrings genuinely cannot healthy.
The journey of studying a way to make rings with beads rewards patience and practice with beautiful, wearable art that enhances your fashion while providing a satisfying, innovative outlet for years to come.
Frequently Asked Questions
What's the best wire gauge for beginners?
20-22 gauge wire offers a good balance of strength and workability for most bead sizes.
Can I mix different bead materials?
Absolutely! Mixing materials like glass, wood, and metal creates interesting textures and visual appeal.
How long should drop earrings be?
Most drop earrings range from 1-3 inches long, depending on personal preference and face shape.
What's the difference between head pins and eye pins?
Head pins have a flat end that stops beads from sliding off, while eye pins have loops at one end for connecting multiple components.
How do I prevent ear irritation?
Choose hypoallergenic materials like sterling silver or surgical steel for earring hooks and posts.